
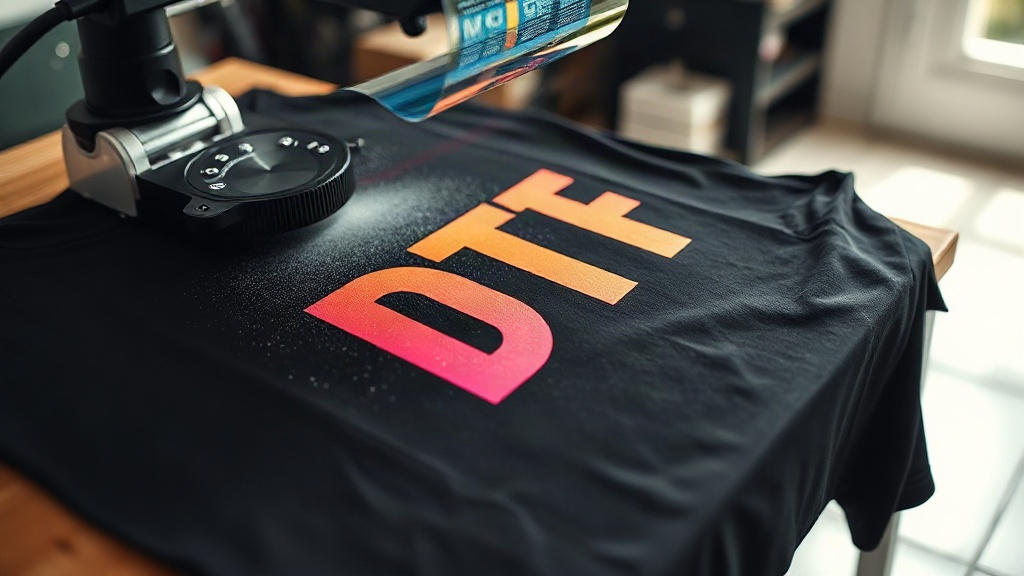
If you've been exploring custom apparel printing, you've likely come across DTF printing. Short for Direct to Film, this method has rapidly gained popularity for its versatility and vibrant results. Whether you're a small business owner looking to offer custom shirts or a DIY enthusiast wanting to create personalized gifts, understanding DTF printing can open up a world of possibilities. In this guide, we'll walk you through everything you need to know about DTF printing, from the basics to advanced tips.
What is DTF Printing?
DTF printing is a digital printing technology that involves transferring a design onto a special film, then applying it to fabric using heat and pressure. Unlike other methods like DTG (Direct to Garment) or screen printing, DTF doesn't require pre-treatment of the fabric or specialized inks for different materials. The process starts with printing your design onto a PET film using water-based inks. A powdered adhesive is then applied to the wet ink, and the film is cured. When you're ready to apply it, you simply place the film on your garment and press it with a heat press. The result is a soft, stretchable print that bonds well to cotton, polyester, and blends.
How Does DTF Printing Work?
The DTF printing process can be broken down into four main steps:
- Design Preparation: Create your artwork and print it onto a special film using a DTF printer. The printer uses CMYK plus white ink to ensure vibrant colors and opacity.
- Powder Application: While the ink is still wet, a hot-melt adhesive powder is sprinkled over the design. The excess powder is shaken off, leaving a thin layer adhered to the ink.
- Curing: The film is then heated to melt the powder, creating a dry, tack-free surface. This can be done with a heat press or a curing oven.
- Transfer: Finally, the film is placed on the garment and pressed with a heat press at a specific temperature and time. After pressing, the film is peeled off (hot or cold peel, depending on the film type), leaving the design bonded to the fabric.
Why Choose DTF Printing?
There are several reasons why DTF printing has become a go-to method for many in the custom apparel industry:
- Versatility: It works on a wide range of fabrics, including cotton, polyester, nylon, and even leather. No need for different inks or pre-treatment.
- Vibrant Colors: The white ink base allows for bright, opaque colors on dark garments, which is a challenge for DTG printing.
- Durability: When applied correctly, DTF prints are highly durable and can withstand repeated washing without cracking or fading.
- Cost-Effective for Small Runs: Unlike screen printing, which requires setup costs per color, DTF is economical for small batches and one-off designs.
- Soft Hand Feel: The prints are thin and stretchable, making them comfortable to wear.
DTF vs Other Printing Methods
To help you decide if DTF is right for your project, let's compare it to other popular printing techniques.
DTF vs DTG
DTG printing is great for cotton fabrics but struggles with polyester and dark colors. DTF excels on both, offering vibrant prints on any color. DTG often requires pre-treatment, while DTF does not. However, DTG can be more cost-effective for large runs on light-colored cotton.
DTF vs Screen Printing
Screen printing is the traditional method for bulk orders, offering lower cost per unit at high volumes. But it requires separate screens for each color, making it expensive for small runs or complex designs. DTF shines for small to medium runs and detailed, multi-color designs.
DTF vs Vinyl
Heat transfer vinyl (HTV) is popular for simple designs and one-off projects. However, layering multiple colors can be time-consuming and results in a thicker feel. DTF allows for full-color designs in a single transfer, with a softer feel.
Getting Started with DTF Printing
If you're ready to dive into DTF printing, here's what you'll need:
- DTF Printer: A dedicated DTF printer or a converted inkjet printer with DTF inks and a film feeding system.
- DTF Film: Special PET film designed for DTF printing.
- Adhesive Powder: Hot-melt powder that bonds the ink to the fabric.
- Heat Press: A commercial heat press capable of reaching 160-170°C (320-340°F).
- Design Software: Any graphic design software like Photoshop, Illustrator, or free alternatives like GIMP or Inkscape.
Step-by-Step DTF Printing Process
Here's a detailed walkthrough to ensure successful transfers:
- Create Your Design: Ensure your design is mirrored (unless using a printer that handles mirroring automatically). Use high-resolution images for best results.
- Print on Film: Load the DTF film into your printer and print. The printer will lay down CMYK and white ink.
- Apply Powder: While the ink is wet, sprinkle the adhesive powder evenly over the design. Shake off excess.
- Cure the Film: Place the film in a heat press at 160°C (320°F) for 2-3 minutes, or use a curing oven. The powder should melt and become glossy.
- Prepare the Garment: Preheat your heat press to 160-170°C (320-340°F). Place the garment on the press and pre-press for a few seconds to remove moisture.
- Transfer the Design: Place the cured film on the garment, ink side down. Press for 10-15 seconds with medium pressure.
- Peel the Film: Wait for the film to cool (cold peel) or peel while hot (hot peel), depending on the film instructions. Peel slowly and evenly.
- Post-Press (Optional): For extra durability, press the design again for a few seconds with a protective sheet.
Tips for Best Results
- Test Your Settings: Every heat press and film brand behaves differently. Always do a test press to find the ideal temperature, pressure, and time.
- Store Film Properly: Keep DTF film in a cool, dry place away from direct sunlight to prevent curling or moisture absorption.
- Use Quality Powder: Cheap powder can lead to poor adhesion or a rough feel. Invest in reputable brands.
- Handle with Care: Avoid touching the printed area before curing, as oils from your fingers can affect adhesion.
Applications of DTF Printing
DTF printing is incredibly versatile and can be used for:
- Custom T-Shirts: Create vibrant, full-color designs on any color shirt.
- Sportswear: The stretchable prints are perfect for jerseys and activewear.
- Bags and Accessories: Personalize tote bags, backpacks, and more.
- Corporate Apparel: Add logos to uniforms and promotional items.
- Home Decor: Print on pillowcases, aprons, and other fabric items.
Frequently Asked Questions
What fabrics can I use with DTF printing?
DTF printing works on a wide range of fabrics, including cotton, polyester, blends, nylon, and even leather. It's particularly effective on dark and synthetic materials where other methods may struggle.
How durable are DTF prints?
When applied correctly, DTF prints are very durable and can withstand 50+ washes without significant fading or cracking. Proper curing and pressing are key to longevity.
Do I need special equipment for DTF printing?
Yes, you need a DTF printer (or converted printer), DTF film, adhesive powder, and a heat press. While the initial investment can be significant, it pays off if you plan to do frequent printing.
Can I use DTF printing for small orders?
Absolutely! DTF printing is ideal for small orders and one-off designs because there are no setup costs like screen printing. It's perfect for personalized gifts or sample runs.
Is DTF printing eco-friendly?
DTF printing uses water-based inks, which are more environmentally friendly than solvent-based inks. However, the film and powder do create some waste, so proper disposal is important.
Conclusion
DTF printing is a game-changer for custom apparel, offering unmatched versatility, vibrant colors, and durability. Whether you're a business owner or a hobbyist, mastering DTF printing can elevate your creations. Remember to experiment with settings, use quality supplies, and have fun. With the right approach, you'll be producing professional-grade custom apparel in no time.