
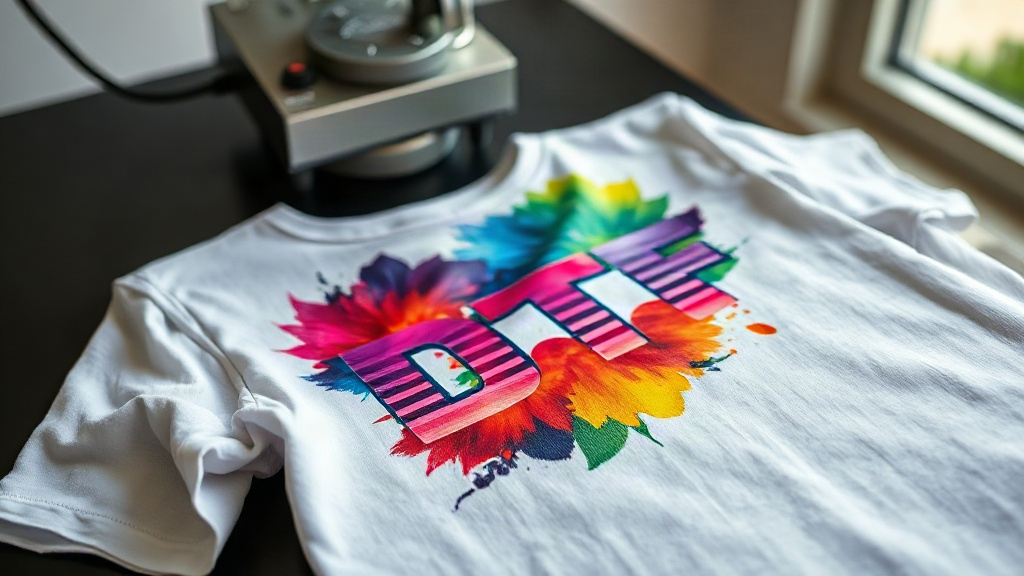
When you want to create custom apparel that stands out, the printing method you choose can make or break the final product. Among the many options, DTF transfers have quickly become a favorite for both hobbyists and professionals. But what exactly are they, and why are they gaining so much traction? In this guide, we'll dive deep into DTF transfers, covering everything from the basics to advanced tips, so you can decide if this method is right for your next project.
What Are DTF Transfers?
DTF stands for Direct to Film. It's a printing technique where your design is printed onto a special film, coated with a adhesive powder, and then heat-pressed onto fabric. Unlike DTG (Direct to Garment) or screen printing, DTF transfers offer versatility and vibrant colors on a wide range of materials. The process involves a few key steps: printing, powdering, curing, and pressing. Each step is crucial for a durable, high-quality result.
Why Choose DTF Transfers for Custom Apparel?
There are several reasons why DTF transfers have become a go-to for custom apparel creators. Here are the top benefits:
- Versatility: DTF transfers work on almost any fabric, including cotton, polyester, blends, and even leather. This makes them ideal for diverse projects.
- Vibrant colors: The prints are incredibly detailed and colorful, often surpassing other methods in brightness.
- Durability: When applied correctly, DTF transfers withstand repeated washing without fading or cracking.
- No minimums: Unlike screen printing, you can create one-off designs without setup costs.
- Soft feel: The prints have a soft hand feel, not stiff or plastic-like.
How to Apply DTF Transfers: Step by Step
Applying DTF transfers is straightforward, but attention to detail ensures the best results. Follow these steps:
- Preheat your heat press: Set the temperature to around 300-325°F (150-160°C) and preheat the garment for a few seconds to remove moisture.
- Position the transfer: Place the DTF transfer on the garment with the printed side facing up.
- Press: Apply medium to firm pressure for 10-15 seconds. Use a Teflon sheet or parchment paper to protect the transfer.
- Peel: After pressing, wait a few seconds, then peel the film off. For a matte finish, peel while hot; for glossy, wait until cool.
- Post-press: For added durability, press again for 5-10 seconds with a cover sheet.
Common Mistakes to Avoid with DTF Transfers
Even though DTF transfers are user-friendly, some common pitfalls can ruin your project. Watch out for these:
- Insufficient pressure: If the pressure is too low, the transfer won't adhere properly, leading to peeling.
- Wrong temperature: Too hot can scorch the fabric or melt the transfer; too cold results in poor adhesion.
- Not preheating: Skipping preheating can cause moisture to interfere with the bond.
- Peeling too soon: If you peel immediately after pressing, the design might lift. Wait a few seconds.
- Using fabric softener: This can create a barrier that prevents proper adhesion.
DTF Transfers vs. Other Printing Methods
How do DTF transfers stack up against other popular methods? Here's a quick comparison:
- DTG: DTG is great for cotton, but DTF works on more fabrics and often has more vibrant colors.
- Screen Printing: Screen printing is cost-effective for large orders, but DTF has no minimums and allows for full-color designs without setup.
- Vinyl: Vinyl is limited to single-color designs and can feel stiff; DTF offers full-color, soft prints.
- Sublimation: Sublimation only works on polyester and light-colored fabrics; DTF is more versatile.
Tips for Perfect DTF Transfers
To ensure your DTF transfers look professional and last long, keep these tips in mind:
- Always test on a scrap piece of fabric before pressing your final garment.
- Use a heat press rather than an iron for consistent pressure and temperature.
- Store unused transfers in a cool, dry place to prevent the powder from absorbing moisture.
- Wash garments inside out in cold water and avoid bleach to prolong the life of the print.
- For stretchy fabrics, use a stretchable DTF transfer or add a slight stretch to the garment before pressing.
Frequently Asked Questions About DTF Transfers
How long do DTF transfers last?
With proper application and care, DTF transfers can last as long as the garment itself. They resist cracking, fading, and peeling through dozens of washes.
Can I use DTF transfers on dark fabrics?
Absolutely! DTF transfers work beautifully on dark fabrics because the white ink layer provides a bright base for the colors. No need for a separate white underbase.
Do I need a special printer for DTF transfers?
Yes, you need a DTF printer that uses DTF inks and film. However, you can also buy pre-printed DTF transfers from suppliers, which is great for beginners.
What is the best way to store DTF transfers?
Keep them in a sealed bag or container away from direct sunlight and humidity. This prevents the adhesive powder from clumping and ensures they stay ready to use.
Can I layer DTF transfers?
Yes, you can layer multiple DTF transfers to create multi-color or multi-design effects. Just press each layer separately, following the same steps.